 There’s something fishy about this free chart – ha! Stitch it up in the colors of your choice. Add the chart to your collection.
Have you read?
Cross Stitching on Wooden Blanks
 One of the fun things about cross stitch is all the different surfaces you can stitch on. Of course regular cross stitch fabric is the most common, you can stitch on anything with holes (and even sometimes on things without holes, if you use water soluble cross stitch fabric.
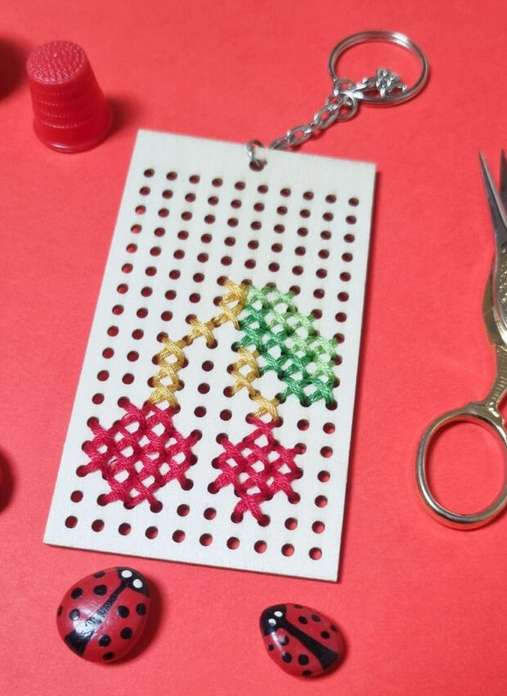
An option that has become more popular with the widespread availability of laser cutting machines is wooden blanks, which are often cut in shape to be bookmarks, holiday ornaments or other simple shapes. They can be keychains, picture frames or necklaces.
(While not wooden I even have a stitchable journal that I cross-stitched on.)
Stitching on wood or heavy card stock isn’t the same as stitching with regular cross stitch fabric, so Craft with Cartwright wrote a post about how best to work with these wooden blanks.
The main thing to know is that you don’t need a sharp needle because the holes are drilled. She also has tips on how to manage your thread (she recommends one strand of embroidery floss folded in half) and finish your project if you need help with that.
Check out the post at Craft with Cartwright for tons of tips and ideas for working with wooden blanks.
Ready to try it out for yourself? You can get rectangular pieces your could mount to a journal yourself from Toms New Old Things.
Fiore Designs has square blanks that come in different sizes and colors for your crafting needs. I am putting some stamp shaped blanks from Lunari Woods on my wish list (they also have gift tags in different sizes and colors).
You can get stitchable keychains from Millions of Stitches, circles from Geniuses of Wood, baubles from Pip and Chip and Christmas ornament shapes from Happy Stitching Time to name just a few.
Have you ever stitched on a wooden blank? I’d love to hear any tips you have!
[Photo: Craft with Cartwright]