 Many, many years ago when I was in 4-H, I remember making a quilt for our leader who was having a baby that included different green and white fabric and we cross stitched the 4-H clover onto some of the squares.
That may have been the last time I used waste canvas to cross stitch onto regular fabric, but it’s such a fun and easy thing to do to add a bit of cross stitch to clothing or other fabric.
I have always loved the idea, for example, of stitching little motifs onto cloth napkins, which would be super easy to do with waste canvas. Maybe writing this post will inspire me to finally do it.
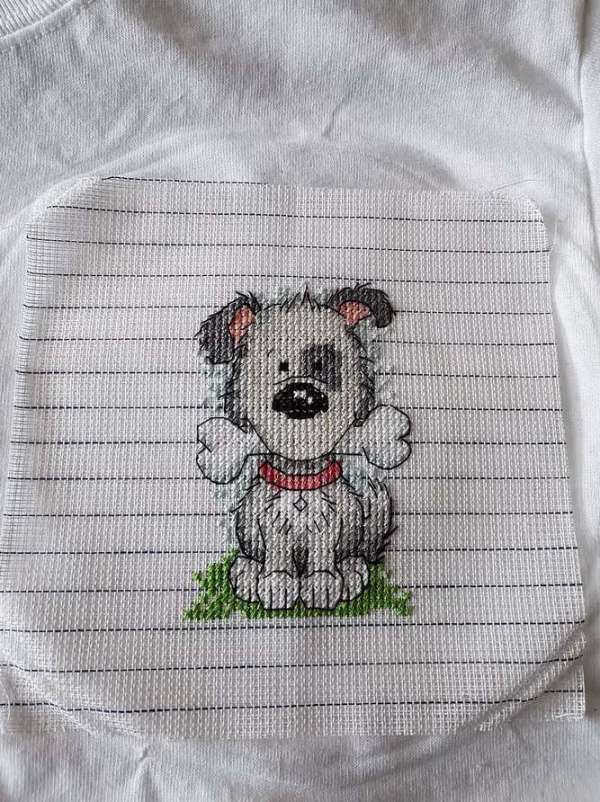
There is a little technique involved in using waste canvas to cross stitch on clothing (as well as removing any evidence of it once the stitching is done), but Thread Bare has a great tutorial with all the details you need to get started stitching on clothing.
Their tutorial shows adding a cross stitch design where you might have a pocket on a T-shirt, but there are lots of other options. I like the idea of using cross stitch as a way to cover a stain if it’s in a place where that would make sense. Or again just adding to fabric for cuteness. You can stitch a border along the edge of a skirt, put a design on an apron, or use it to personalize fabric for a quilt, pillow or other project.
This works on store-bought clothing or things you make yourself, thought it’s a little easier to stitch on lighter weight fabrics. If you’re working with something that stretches, like a T-shirt, you need to be careful you aren’t stretching or puckering the fabric as you go, but otherwise it’s a pretty simple project.
Check out all the details on how to use waste canvas to cross stitch onto fabric at Thread Bare.
[Photo: Thread Bare]
