 I’ve started (just barely, as you can see) a relatively big/complicated cross stitch project (the Baba Yaga house from Happy Little Mouse I told you about a while ago) and I knew that for this project I was going to need a little help keeping track of where I was and what I needed to do next.
Adding grids to your cross stitch fabric is a quick and easy way to help yourself when you’re working on a big project. Your chart will have grids marking off every 10 stitches and every 10 rows, so having those same markings on your fabric can only make it easier for you to follow along.
There are a few main ways to do this, which include marking the grid with thread (either embroidery floss, sewing thread, thread marketed for this purpose, or even fishing line!) or using fabric marking tools to draw the grid. Using a ruler when you do this helps a lot. Mine are still not that straight.
You can also buy cross stitch fabric that’s already marked, which of course makes it a lot easier, but it’s kind of expensive.
When marking your fabric it helps to know where the center of your fabric is, as well as where the center of the chart is relative to the grid marks so you can line them up.
This makes it a lot easier to orient yourself in the chart, and if you have a lot of one color all together it can make it easier to count stitches. Say you had 23 stitches in a row of the same color; stitching across two squares plus three stitches is a lot easier to keep track of than having to manually count them as you go.
Want to learn more about gridding cross stitch fabric and why you would want to? Check out my post all about ways to grid cross stitch fabric over at Our Daily Craft.
[Photo: Our Daily Craft]
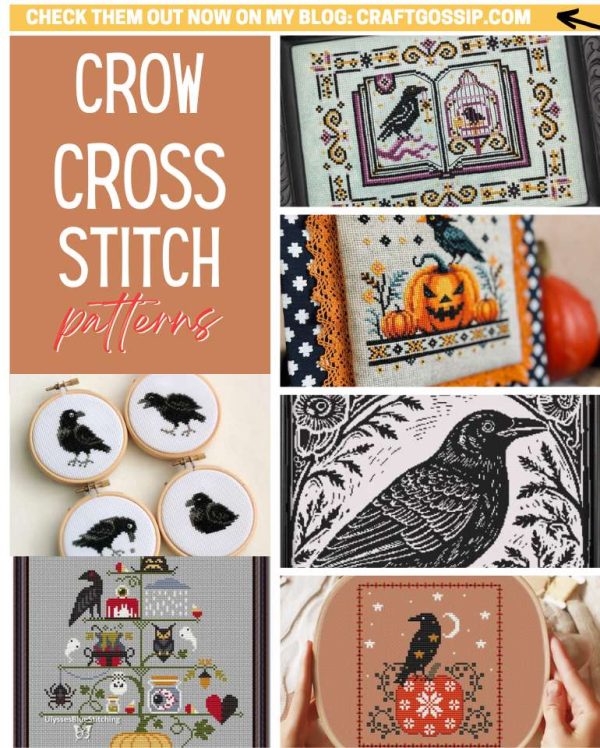
 In all my years writing about cross stitch, I don’t think I’ve ever had a post dedicated to crow cross stitch patterns. That’s a shame, because crows are cool, and they’re a great motif to use in the fall that has a bit of a Halloween/spooky vibe without necessarily being all pumpkins and ghosts (though we have some of that, too).