 Back stitch is a special cross stitch that uses a single line of stitching (as opposed to x shapes) to highlight part of a cross stitch design. It can be used to outline part of a design, as a frame for a project, for details like animal whiskers, or even to add simple lettering or to sign a project.
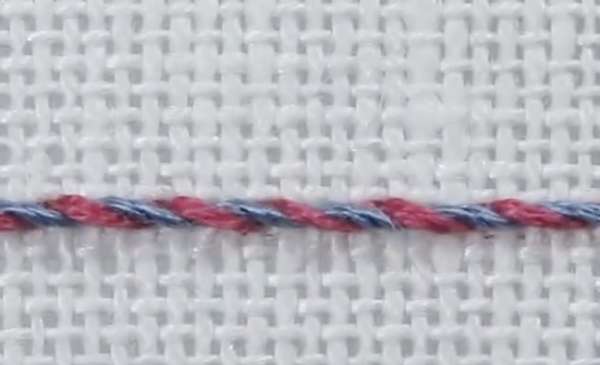
If you want to make your back stitching a little fancier for a border, the stems of flowers or other embellishments, you can do a fun variation called whipped back stitch.
It starts with standard back stitching, so you can use this anywhere you already have back stitch in a project, or you can add back stitch (as for a border) if you like.
Using a second color, you weave the thread in and out of the back stitches you’ve already made to add more color and texture.
Check out this post at Fab Reilly for a full tutorial.
There are also variations on this technique that you could try, such as using the same color for both threads, using more or fewer threads for one of the passes, changing the direction of the wraps as you go around the border, adding a metallic thread, or even trying to use a thin ribbon or yarn for the weaving instead of embroidery floss.
Once you try this technique I think you’ll find lots of reasons to use it. It doesn’t take much more time or effort to embellish your project in this way, but it does automatically make it look fancier.
The tutorial includes a video that shows just how it’s done if you need more instruction. If you try this one out I’d love to hear how you used it, or if you’ve done it before and have tips to share, that would be great!
[Photo: Fab Reilly]
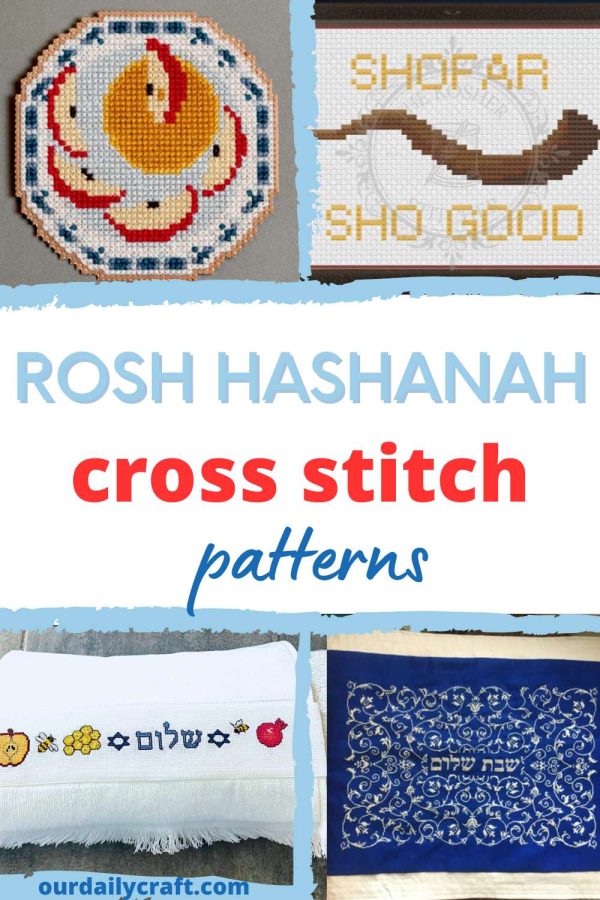
 Rosh Hashanah is the Jewish New Year celebration, and it’s a time full of special symbols and meaningful happenings that are perfect for stitching. Anything with a bee or honeycomb, apple, pomegranate or challah on it would be a great choice for stitching this time of year.