• Home
  • Suggest A DIY
  • DIY Newsletter

Cross-Stitch

Charts, patterns and everything needlepoint

  • About CraftGossip
  • Our Network
    • Bath & Body Crafts
    • Candle Making Ideas
    • Crochet Ideas
    • Cross Stitch
    • Edible Crafts
    • Felting Patterns
    • Glass Art
    • Home & Garden Ideas
    • Indie Crafts
    • Jewelry Making
    • Kids Crafts
    • Knitting Patterns
    • Lesson Plans
    • Needlework
    • Party Ideas
    • Polymer Clay
    • Quilting Ideas
    • Recycled Crafts
    • Scrapbooking
    • Sewing Patterns
    • Card Making
    • DIY Weddings
    • Not Craft Ideas
  • Giveaways
  • Roundups
  • Store
  • Search

Tips for Traveling with Cross Stitch

December 17, 2025 by Sarah White

As a person who is mostly in the knitting world, it comes up fairly often that people will have questions about traveling with knitting and whether knitting needles and other supplies are allowed on airplanes. (The answer is generally yes, but it’s somewhat up to the discretion of the flight agents whether items are truly allowed.)

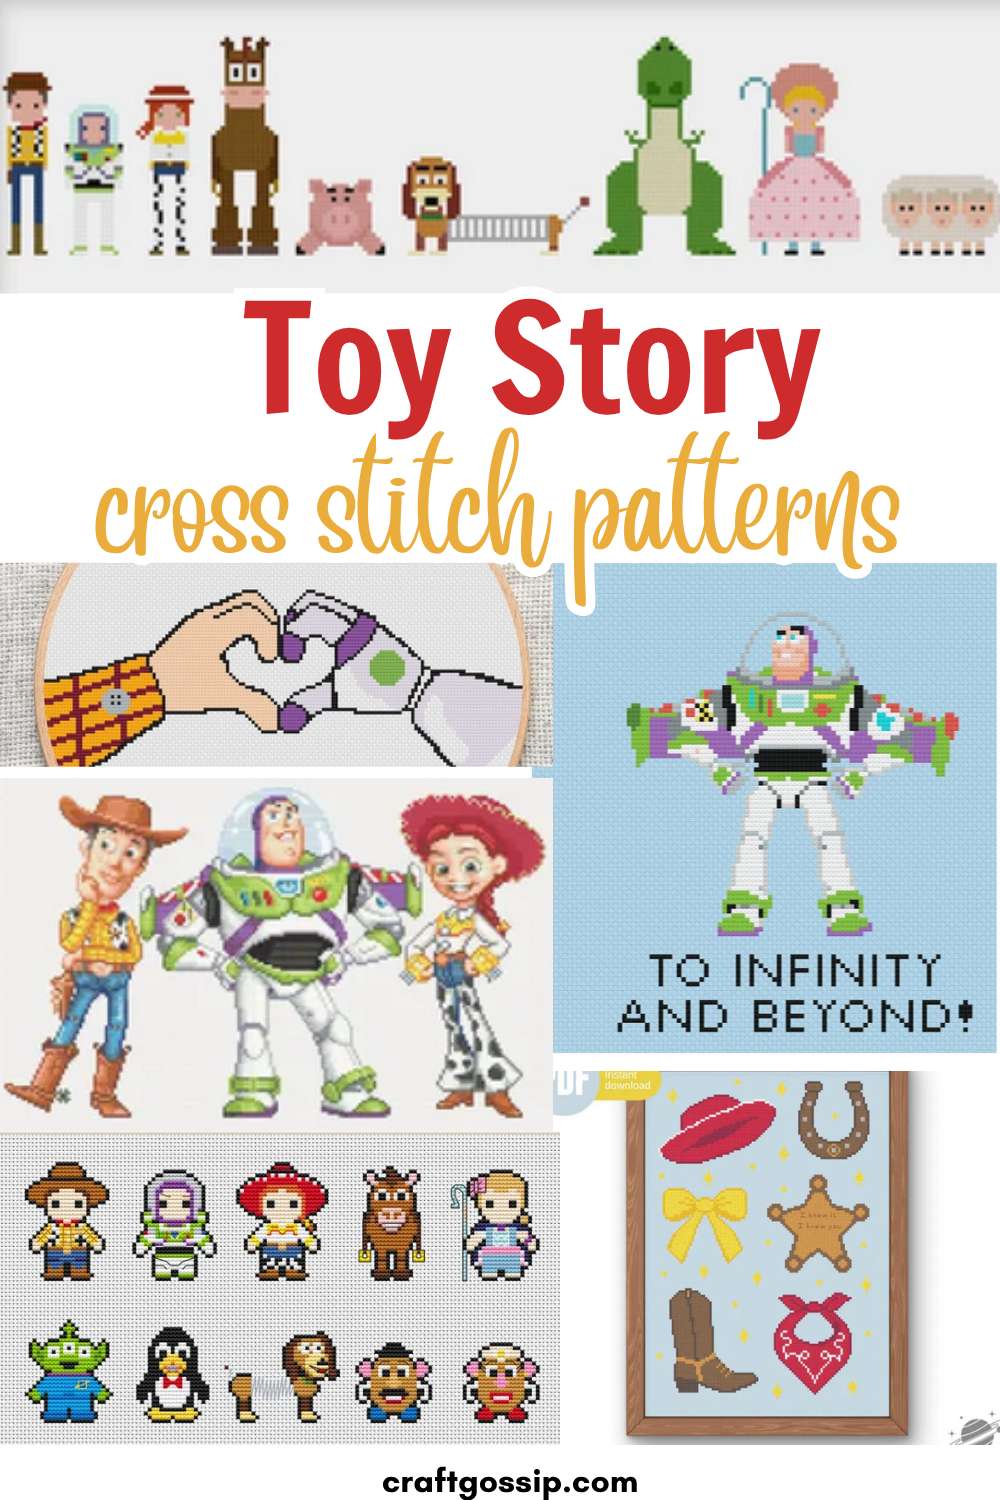
I haven’t heard a lot of people question whether cross stitch supplies are allowed on planes, though sewing needles are generally sharper than knitting needles. As far as I know there’s nowhere you can travel by plane that wouldn’t allow you to carry sewing needles. Scissors may be a different story. 

The rules in America are that scissors shorter than 4 inches/10 cm from the pivot point (where the two blades join) are allowed in carry on luggage, and scissors of any length are allowed in checked bags. In the UK the measure is 6 cm, or about 2.5 inches. 

One rule that trips some people up in the States is the fact that while scissors are allowed, cutting tools that include blades are not allowed in carry on luggage. Those thread cutters that look like pendants? Technically not allowed. I guess the idea is they could be taken apart and then you’ve got a blade. So your best bet is to stick with small scissors or even fingernail clippers on the plane. 

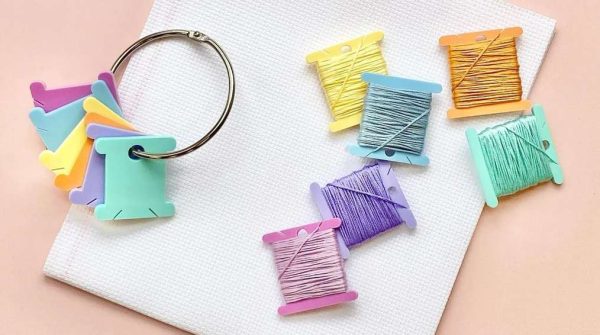
Caterpillar Cross Stitch goes into greater detail about how to travel with cross stitch supplies, alternatives to scissors, tips for packing and what to do if an agent confiscates your supplies. They’ve also got tips for the things you might want to include in your travel cross stitch kit and etiquette tips to ensure your stitching doesn’t annoy other passengers. 

Have you ever traveled by plane with your cross stitch or embroidery? I’d love to know if you have any tips to add to this collection! Check out the post at Caterpillar Cross Stitch for all the details. 

[Photo: Caterpillar Cross Stitch]

Next Pattern:

  • How Do You Decide What to Make Next?
«
»

Have you read?

Everything You Need to Know About Embroidery Hoops

One of the most common supplies for cross stitch, aside from fabric, needles and floss, is an embroidery hoop. A hoop isn’t needed for every project, and indeed there are some stitchers who prefer not to use them at all. I generally don’t use a hoop when I’m working on a small cross stitch project, especially something that’s shape isn’t conducive to using a hoop (like a bookmark). 

But embroidery hoops can be really helpful for cross stitch because they hold your fabric at an even tension, which allows you to stitch more evenly without any more work on your part. It’s great for beginners to use hoops because the tension on the fabric can both help make your stitches more even and make the holes in the fabric a little easier to see. 

I’ll admit to always just buying whatever hoop is available in the right size when I’m ready to start a project without giving it much more thought than that. But there are things you should consider when choosing among the different kinds of hoops, which Caterpillar Cross Stitch covers in their great guide to embroidery hoops. 

The post walks you through wooden, plastic, spring tension and flexi hoops (which I’ll admit to having never heard of; they’re made of vinyl and plastic apparently), as well as Q-Snap frames, which aren’t really hoops because they’re made of plastic tubes that you snap together in the size and shape you need. 

It also covers what size hoop you should use for the project you’re working on and how to actually use a hoop in the right way. 

Whether you’re new to cross stitch or more seasoned, you’re sure to pick up a tip or a product to try in this post, so go check it out over at Caterpillar Cross Stitch. 

Do you have a favorite kind of embroidery hoop to use for cross stitch, or do you go without? I’d love to hear your thoughts!

[Photo: Caterpillar Cross Stitch]

Categories

Book Reviews Christmas Craft Businesses Craft Inspirations Craft News and Events Cross-Stitch Patterns & Charts Cross-Stitch Product Reviews Cross-Stitch Website Reviews Dogs & Cats Easter flowers Free Patterns Halloween More Cross Stitch Product Reviews spring Subversive Thanksgiving Tutorials and Patterns valentines day

RSS More Articles

  • The 5 Outlet Placement Mistakes You Don’t Want to Make
  • Celebrate the Spirit of the Southwest with These Stunning Indian Navajo Tribal Quilt Patterns
  • Pricing Handmade Sewing Items Without Undervaluing Yourself
  • Tips for Teaching the Alphabet to Kids
  • Yarn Sardines T-Shirt Review – A Whimsical Gift For Yarn Lovers
  • Cropped Chunky Granny Stitch Cardigan Crochet Pattern
  • Free Butterfly Digital Stamps for Card Making, Coloring and Paper Crafts
  • 14 Masculine Card Ideas for Guys
  • Juneteenth Cross Stitch Patterns
  • Ties to Knit for Father’s Day

Pick Your Blog

  • Sewing
  • Knitting
  • Quilting
  • Crochet
  • Home & Garden
  • Recycled Crafts
  • Scrapbooking
  • Card Making
  • Polymer Clay
  • Cross-Stitch
  • Edible Crafts
  • Felting
  • Glass Art
  • Indie Crafts
  • Kids Crafts
  • Jewelry Making
  • Lesson Plans
  • Needlework
  • Bath & Body
  • Party Ideas
  • Candle Making
  • DIY Weddings
  • Not Craft
  • Free Craft Projects

Copyright © 2026 · CraftGossip | Start Here | Contact Us | Link to Us | Your Editors | Privacy and affiliate policy