![]()
![]()
I was recently sent a package of PrintWorks Vanishing Fabric Transfer sheets to review. Watch for a giveaway next week!
While we usually talk about cross-stitch on this page, sometimes you might want to combine embroidery and cross stitch in a project or make a project more personal by adding a special embroidered touch.
When PrintWorks reached out about their Vanishing Fabric Transfer Sheets, I knew I wanted to embroider a bit of my handwriting — specifically how I sign lunchbox notes for my daughter.
I thought this would be really cute as a pillow and, since she’s not getting lunchbox notes right now, a physical reminder that I love and support her no matter what is going on in the world.
Product Specs and Instructions
![]()
![]()
The PrintWorks Vanishing Fabric Transfer sheets are sold in a pack of five 8.5×11 sheets for use in inkjet printers.
They are for use on white and very light colored fabric.
To print, you need your design to be printable on your computer and reversed. Because I drew out my design by hand, I took a picture of it, which was then uploaded to the computer and flipped. The image is printed on the shiny side of the transfer paper.
[youtube https://www.youtube.com/watch?v=pNEWi9GqGto&w=560&h=315]
After allowing the print to dry you can iron it onto your fabric. The instructions say to not use an ironing board; I did mine on a cutting board. Allow to cool at least 30 minutes and peel off the backing. The design is left in a light gray print and you can see the residue of the paper on your fabric.
Using the Vanishing Fabric Transfer
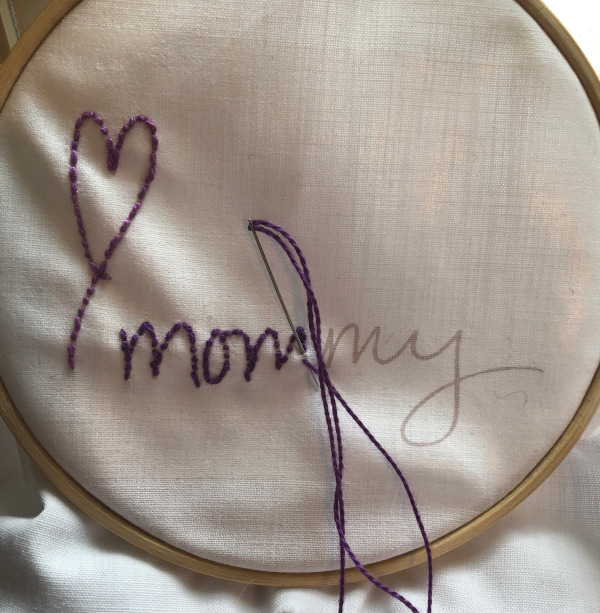
I ironed on my design and left it to cool. It was easy to peel the paper off. I felt like the fabric was a little thicker, stiffer and slightly harder to stitch through where the transfer had been applied, but I was also using thick embroidery floss, so it might have just been that.
I used backstitch and two different colors of floss to stitch my design. I made sure to leave some spaces where I could see the transfer so I would know if it washed out completely.
To remove the residue and ink impressions when I was done stitching, I hand washed the project like I would wash a knitting project (cool water and baby shampoo). I used a toothbrush to scrub in a few places where the residue was still present after a quick swish through the water, and I did let it sit for 20 minutes or so.
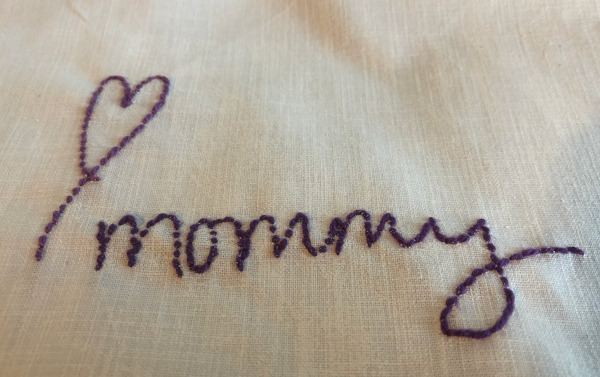
The finished project came out mostly clean, and I went back with my toothbrush to scrub off the rest of the residue. At this point I could add little cross-stitch hearts or a border if I want (which I might; I’m thinking of turning it into a pillow).
All in all I found this an easy product to use and think it would be a great way to add a little custom embroidery (or even cross stitch) to a project.
Learn more about PrintWorks and their line of fabric transfer products.