• Home
  • Suggest A Craft
  • DIY Newsletter

Cross-Stitch

Charts, patterns and everything needlepoint

  • About CraftGossip
  • Our Network
    • Bath & Body Crafts
    • Candle Making Ideas
    • Crochet Ideas
    • Cross Stitch
    • Edible Crafts
    • Felting Patterns
    • Glass Art
    • Home & Garden Ideas
    • Indie Crafts
    • Jewelry Making
    • Kids Crafts
    • Knitting Patterns
    • Lesson Plans
    • Needlework
    • Party Ideas
    • Polymer Clay
    • Quilting Ideas
    • Recycled Crafts
    • Scrapbooking
    • Sewing Patterns
    • Card Making
    • DIY Weddings
    • Not Craft Ideas
  • Giveaways
  • Roundups
  • Store
  • Search

A Possible Cross Stitch Project to Try

August 3, 2023 by Sarah White

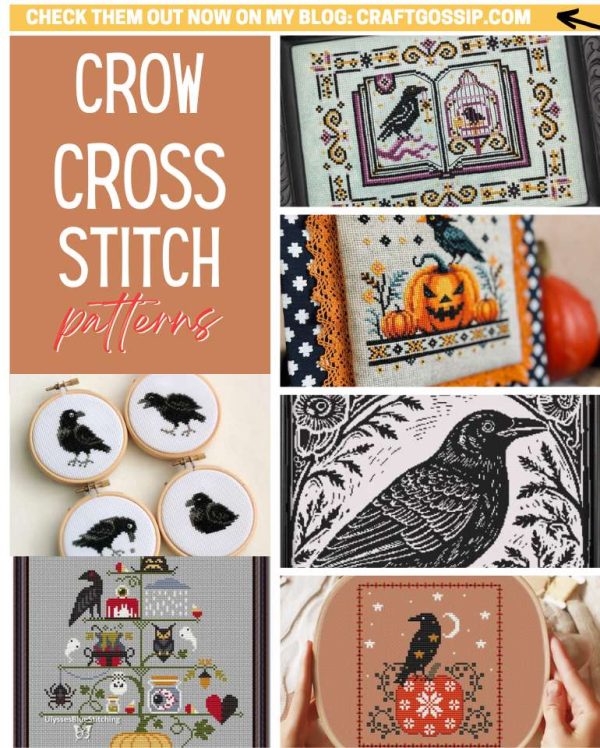
Sometimes when I’m looking for things to write about I’ll type something vague into Pinterest (like, say “cross stitch”) and just see what comes up. Sometimes it will be patterns, sometimes educational posts, but there’s usually something interesting that gives me an idea of something to write about.

That’s where the post about cross stitching a QR code came from, by the way.

Anyway, I was doing that recently and I came across this post from Skip to My Lou about cross stitched letters to use as home decor.

Super cute, right?

The only problem is, the post is from 2018 and I can’t find that that particular product exists anymore.

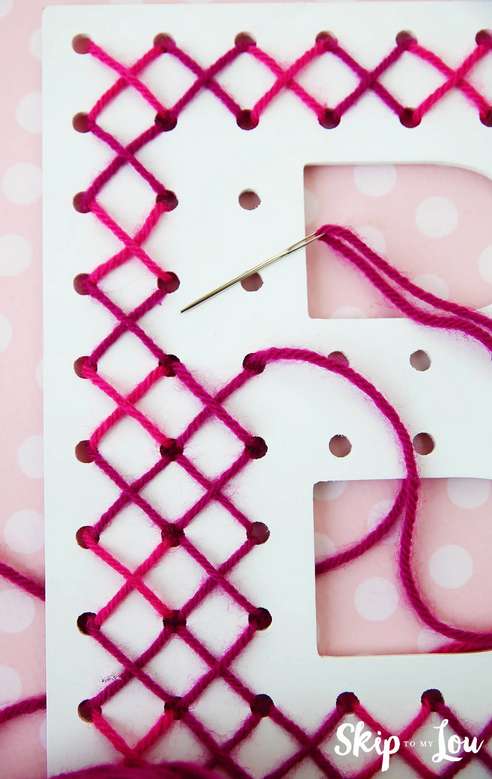
But it did get me thinking. It looks like the base letter is wooden, and she talks about it having pre-drilled holes to make the stitches. But I wonder if you couldn’t do the same kind of thing with paperboard or heavy posterboard. 

You could just cut out the letters, then figure out where your holes need to go to be able to make enough holes so you can cross stitch on it (for example you need at least three holes per row in order to make two stitches, as you can see in the photo) and evenly space them across the letter.

Then you can use something sharp to poke holes where you have marked. Depending on the thickness of your base letter you could potentially do this with a sharp sewing needle, or you could try a knitting needle, or very carefully use a craft knife to poke small holes.

This is a great setup for a first kids’ cross stitch project, because they can stitch with yarn and a big plastic needle (of course make sure the needle will fit through the hole you’ve made with yarn on it) and just focus on making the x shape.

If you give this a try I’d love to hear how it works! Or if you know of a source for wooden letters with drilled holes, let us know.

[Photo: Skip to My Lou]

Next Pattern:

  • 35+ Sunflower Cross Stitch Patterns
«
»

Have you read?

How to Stitch with Variegated Floss

I love the look of variegated cross stitch floss and how it makes it possible to stitch with a variety of colors without changing thread, giving your project more depth and a more complex look without you having to do anything different.

Or at least not much different. I recently came across this blog post from The Copper Fox all about how to use variegated floss and it noted that many people would say it’s a good idea to complete a whole stitch (when you’re stitching whole cross stitches) with the floss before going on to the next stitch. Most of us stitch row by row, but of course if you do that with variegated yarn, it could change color along the way and you’ll end up with stitches that are half one color and half another color or a different shade.

Of course that makes total sense but I’d never thought about it.

The post includes swatches with different kinds of variegated threads to show the different between working stitch by stitch or row by row, and it doesn’t make a huge different over the small area shown but I can see how it might make a difference if you had really long rows or if you just want to make sure your stitches are a single color whenever possible.

In addition to this experiment, the post talks about other ways to work with multicolored floss, including deliberately mixing the colors among the strands of floss you are stitching with and stitching in a different order instead of right to left and top to bottom (or whatever direction you typically work) to get different effects from the thread.

It’s fun to geek out on this stuff because it can make a difference if you want to play with it, or you can just stitch on without giving it much thought, and both will give you good results.

Check out all the experiments at The Copper Fox.

Do you do anything different when you stitch with variegated floss? I’d love to hear about it!

[Photo: The Copper Fox]

Categories

Book Reviews Christmas Craft Businesses Craft Inspirations Craft News and Events Cross-Stitch Patterns & Charts Cross-Stitch Product Reviews Cross-Stitch Website Reviews Dogs & Cats Easter flowers Free Patterns Halloween More Cross Stitch Product Reviews spring Subversive Thanksgiving Tutorials and Patterns valentines day

RSS More Articles

  • Plant Lovers, This DIY Pillow Project Is for You
  • Easy Dangle Earrings – Free Crochet Pattern
  • 9 FREE Mean Girls as Bratz Dolls Coloring Pages
  • Wonder Clips vs. Cheap Clones: The Real Truth After Testing Different Brands
  • Turn Any Vase into a High-End Aged Pottery Look – The Easy DIY Hack You Need
  • How to Stitch with Variegated Floss
  • Sun Activities for Kids
  • 12 Scrapbook Layout Ideas That Use Tags
  • Knits with Sheep
  • Unlock Your Crafting Potential with the Must-Have Yarn Gauge! Find Out Why Crafters Everywhere Are Obsessed

Pick Your Blog

  • Sewing
  • Knitting
  • Quilting
  • Crochet
  • Home & Garden
  • Recycled Crafts
  • Scrapbooking
  • Card Making
  • Polymer Clay
  • Cross-Stitch
  • Edible Crafts
  • Felting
  • Glass Art
  • Indie Crafts
  • Kids Crafts
  • Jewelry Making
  • Lesson Plans
  • Needlework
  • Bath & Body
  • Party Ideas
  • Candle Making
  • DIY Weddings
  • Not Craft
  • Free Craft Projects

Copyright © 2025 · CraftGossip | Start Here | Contact Us | Link to Us | Your Editors | Privacy and affiliate policy

Copyright © 2025 · Sprinkle Theme on Genesis Framework · WordPress · Log in