 Most of the time when we think about making our own cross stitch patterns, we probably think about using the computer to help us. There are lots of programs available that can take a picture and turn it into a cross stitch pattern (and I have talked about the process for turning a photo into a cross stitch pattern before).
But if your design isn’t that complex, or you’d just rather go the analog route, it’s not difficult to draw a cross stitch pattern by hand using graph paper.
This is even easier than charting a colorwork design for knitting or crochet, because cross stitches are already square, just like the squares on graph paper.
Crewel Ghoul has a great post all about how to make cross stitch patterns with graph paper, and it’s easier than you might think.
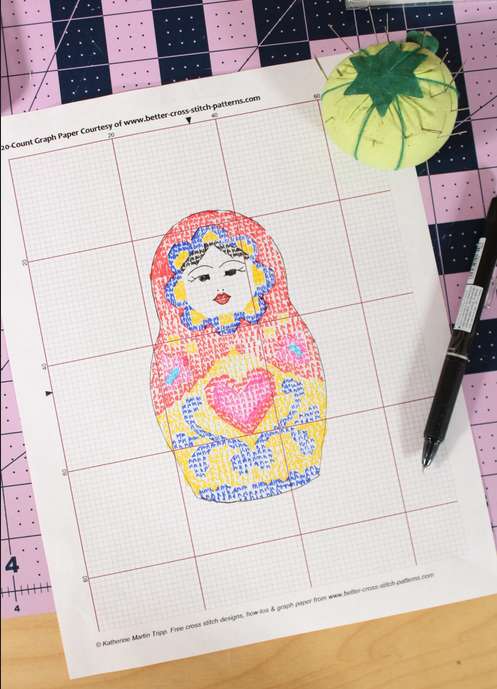
This is actually how I make a lot of my designs because I will start with the outline of an object that I trace onto the paper and then adjust and color in as needed.
The only special equipment you need for this process is paper and colored pencils, as well as a light box or tablet (though I’ve used my computer monitor before, a tablet would be a lot easier) or a sunny window.
And the only potentially tricky part is figuring out the count of your design, that is, how big you want it to be so you choose the right count of graph paper. (Better Cross Stitch Patterns has a great collection of free printable cross stitch graph paper of different counts to make this easier.)
If you’re ready to design your own cross stitch patterns literally by hand from a photo or other design, check out all the tips from Crewel Ghoul. If you’ve done this before I’d love to hear if you have any tips to share!
[Photo: Crewel Ghoul]