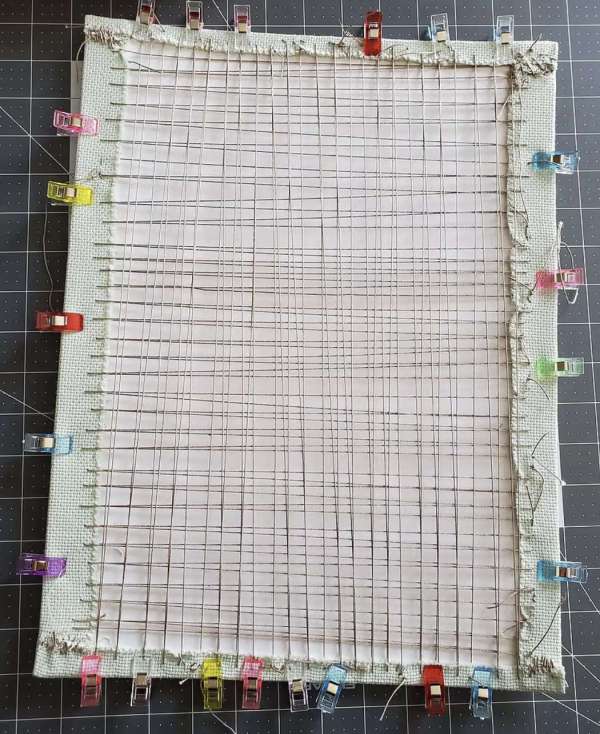
 I don’t make a lot of large cross stitch pieces so I don’t have much experience with framing. When I did it as a kid I think we mostly used cardboard and double-stick tape and put the pieces in picture frames. Which I’m sure isn’t the best way to go about it.
I came across this post from Thread Bare that shows how to use the lacing method to help when you are framing larger cross stitch pieces (I’m sure you can use it on small pieces, too.) This method both secures the edges and keeps an even tension on the cross stitch fabric, so that you can easily mount it in a picture frame.
This is a great option for your large pieces that you might consider taking to a custom frame shop, but of course doing it yourself is going to be less expensive. The post says all the materials including the frame cost about $27, and you may already have some of the supplies you need. One thing to note is that it uses what is described as cardboard backing, which in the photos almost looks like posterboard, but it’s important to use something acid free for this purpose if you can find it, since that’s the best option for long-term storage of textiles.
Another good thing about this method, other than being relatively inexpensive, is that because the lacing method just uses thread (albeit heavy-duty thread) if you don’t like the look of it initially you can always pull out the lacing and try again.
The post has a ton of pictures, which should make it possible for you to complete this project on your own. If you do something like this or have another method for securing your cross stitch projects for framing, I would love to hear about it!
[Photo: Thread Bare.]
